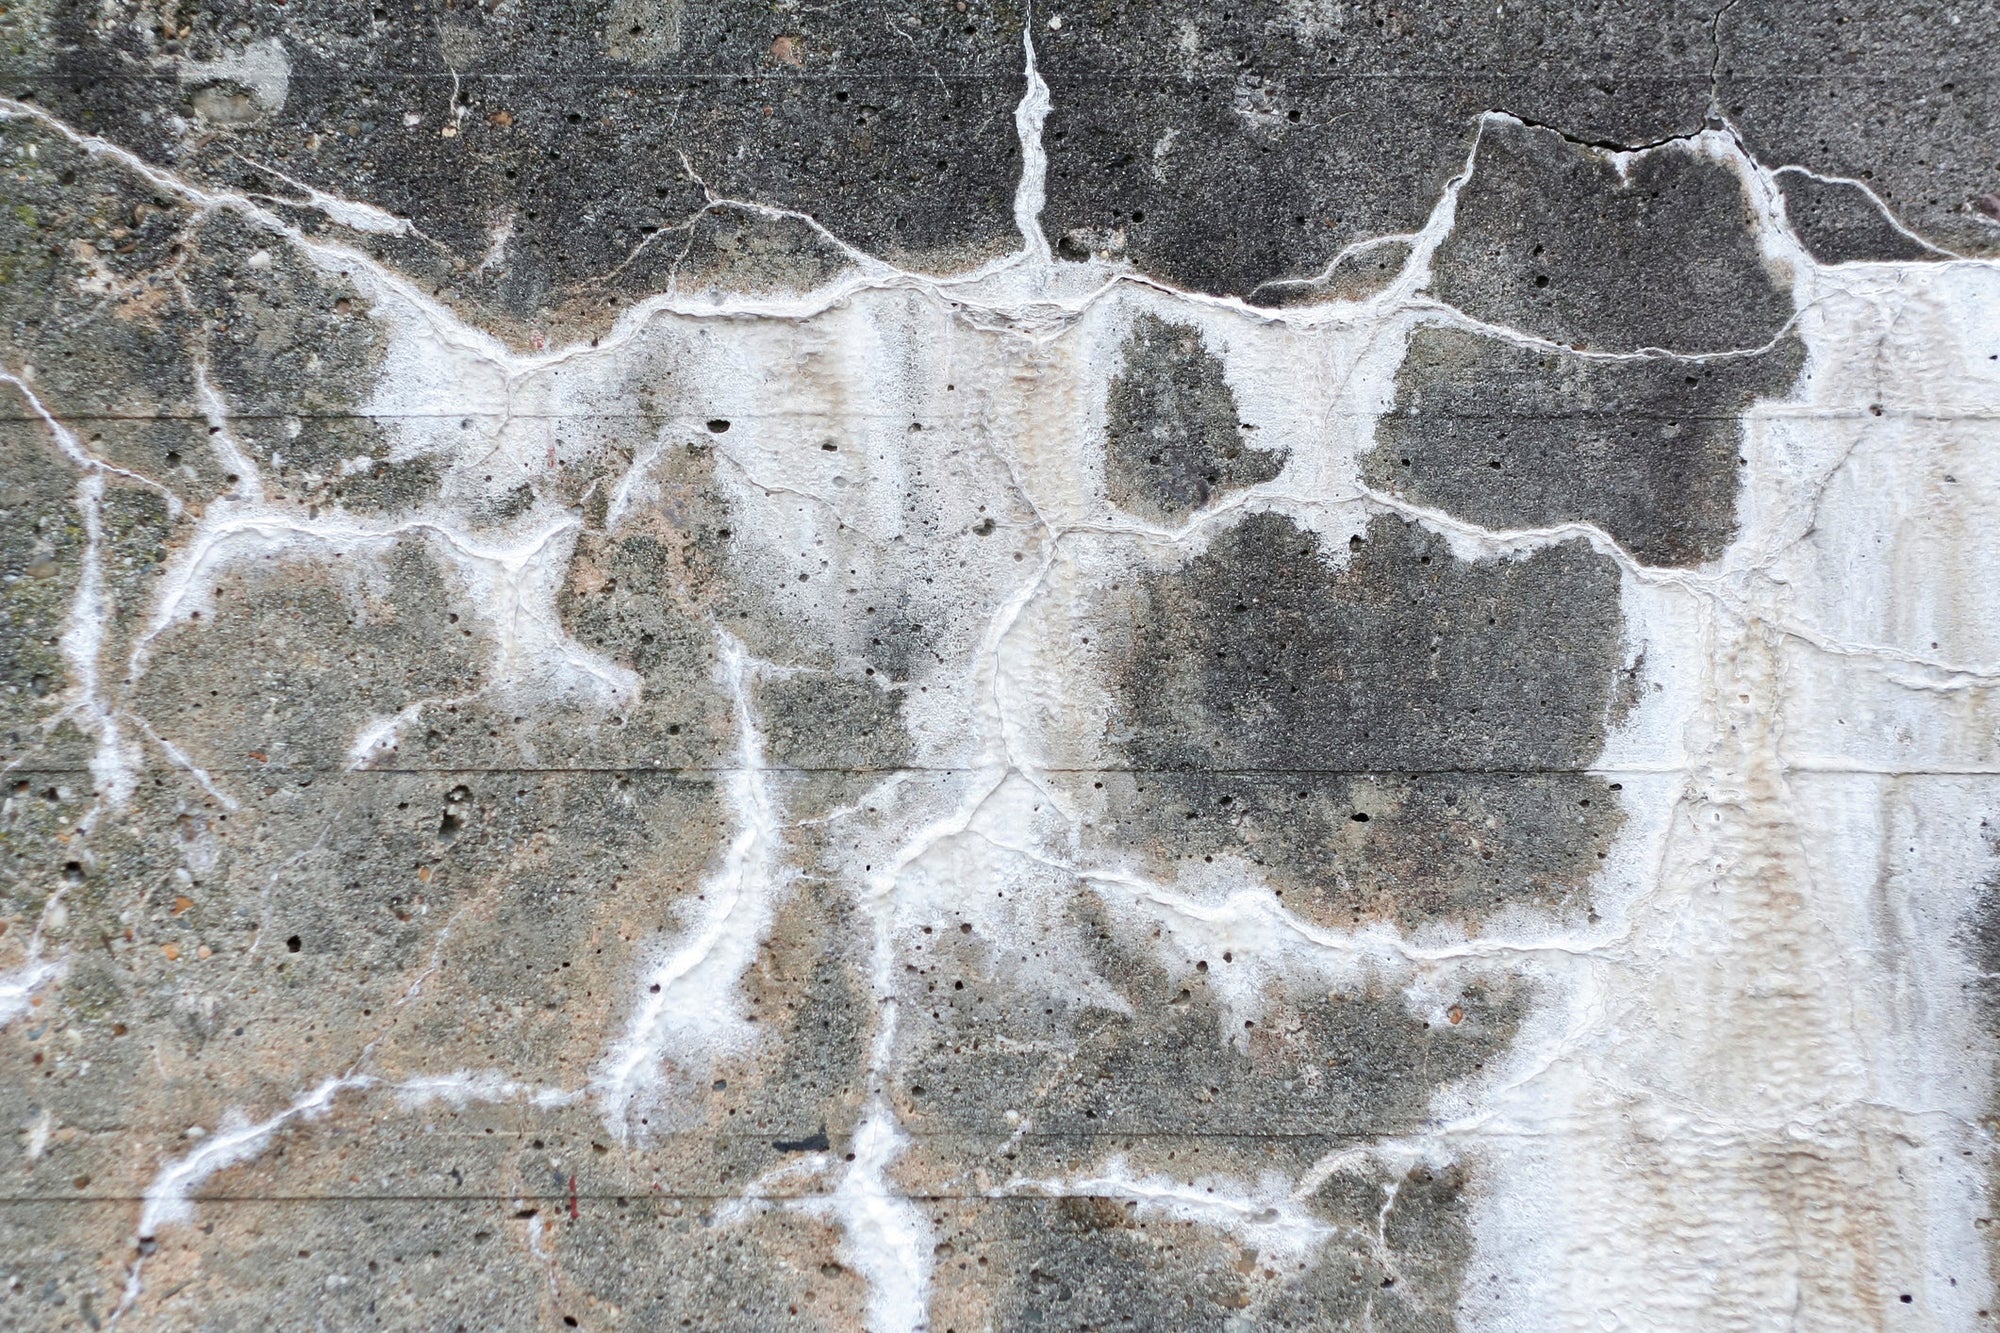
Efflorescence often appears without warning. One week your patio or brickwork looks clean and consistent in colour, and the next, a white powdery haze begins to form across the surface.
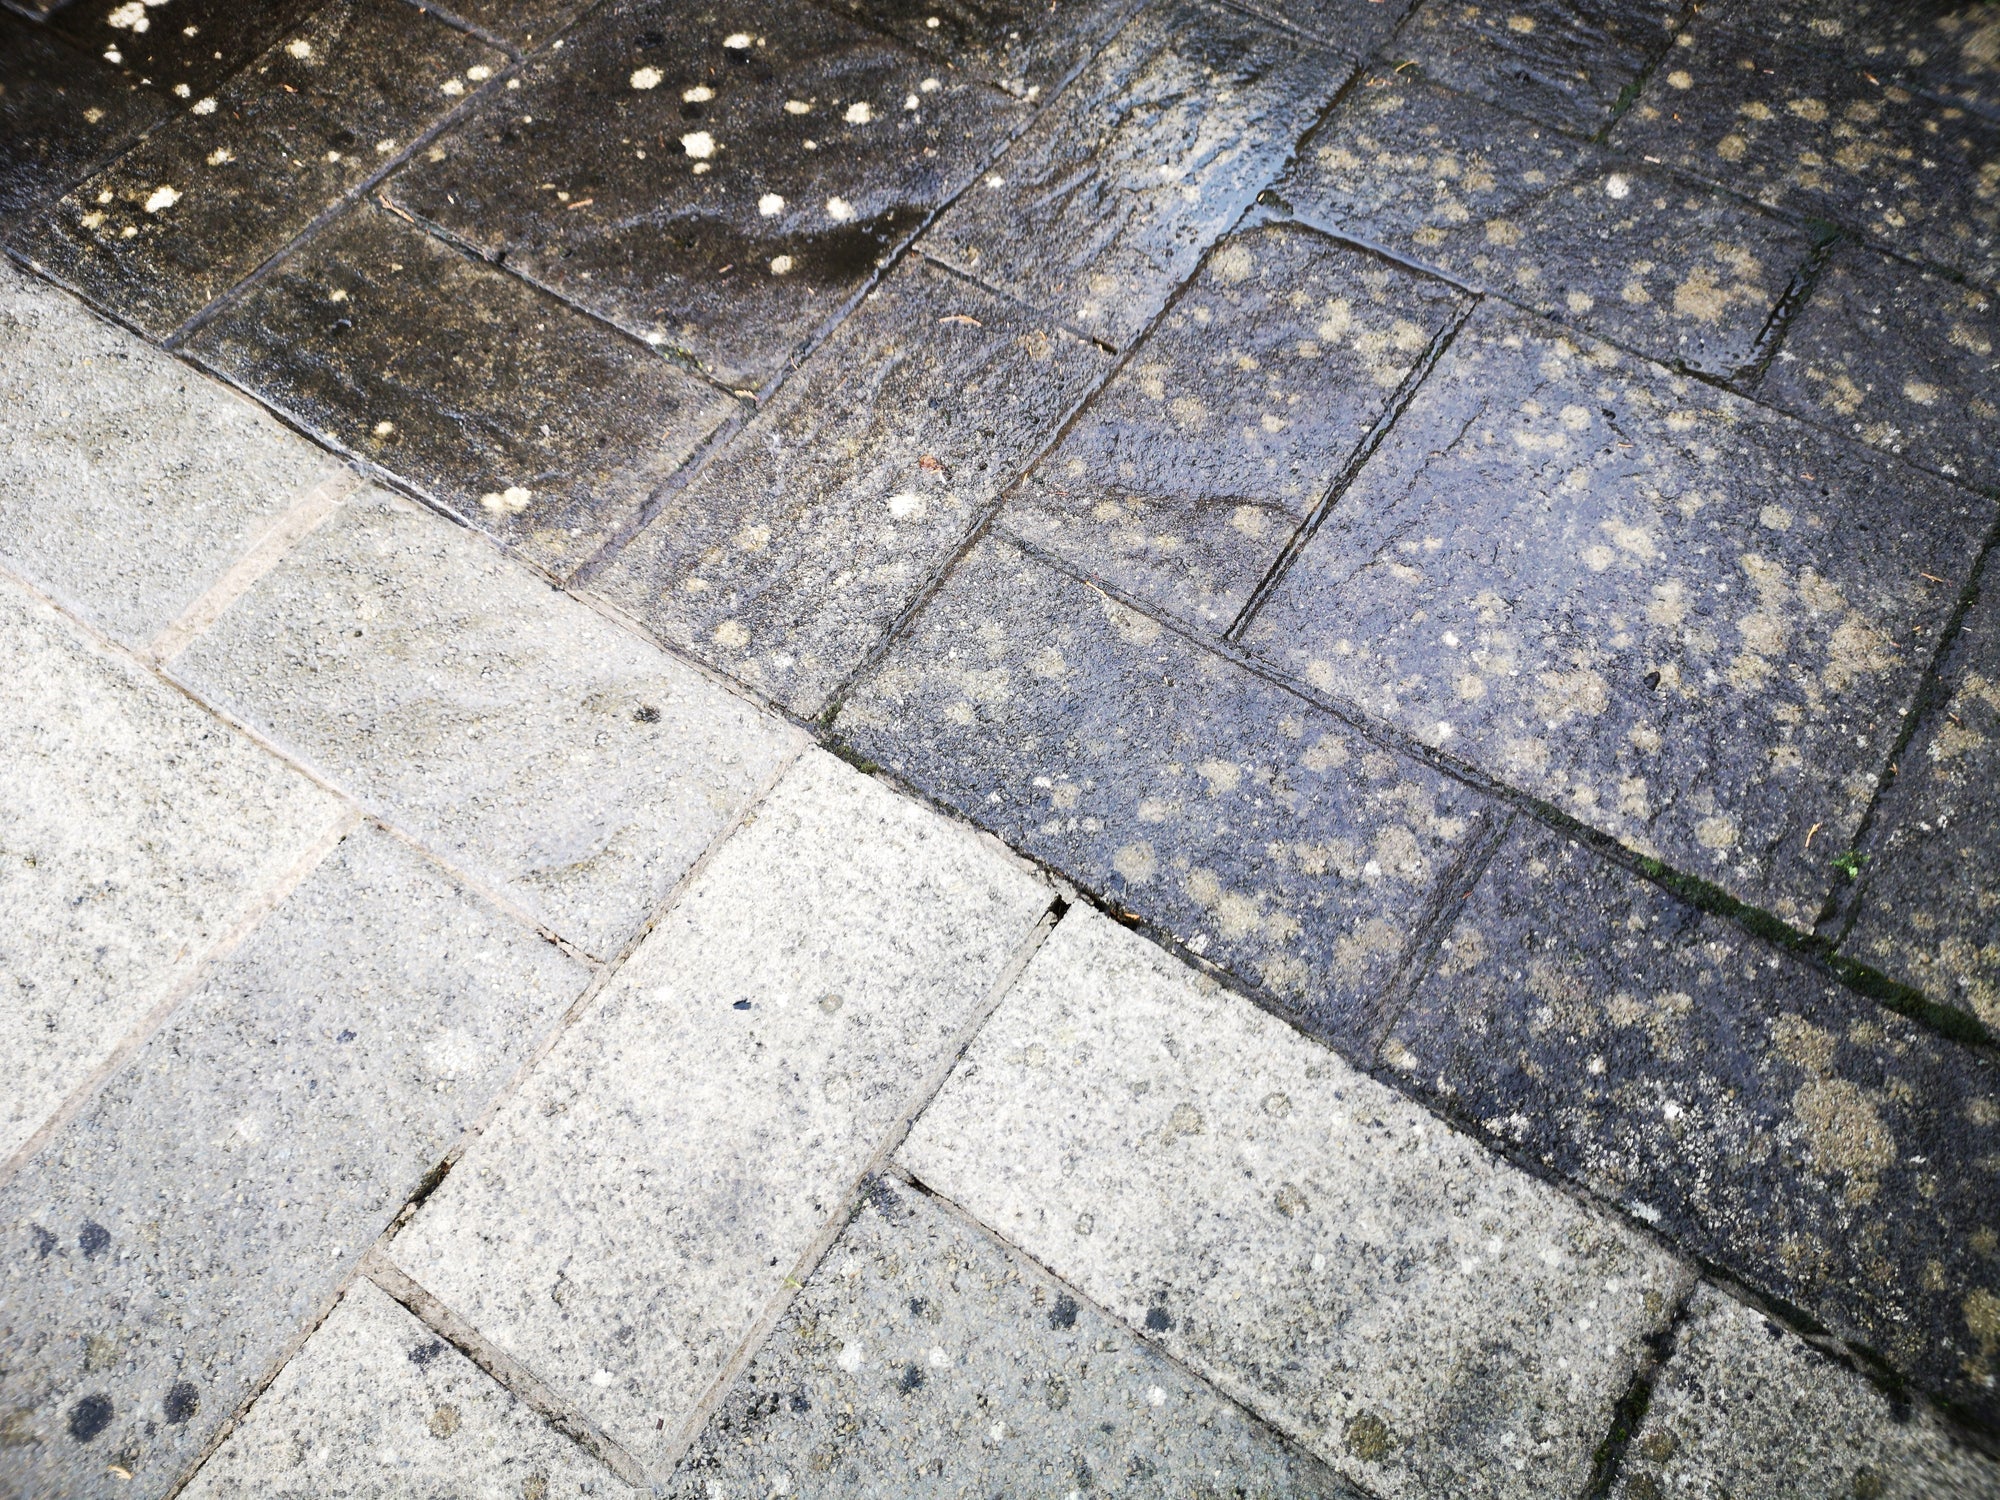
White spots on a patio often appear without warning. One week the paving looks consistent in colour, and the next, pale patches or chalky marks begin to stand out across the surface.
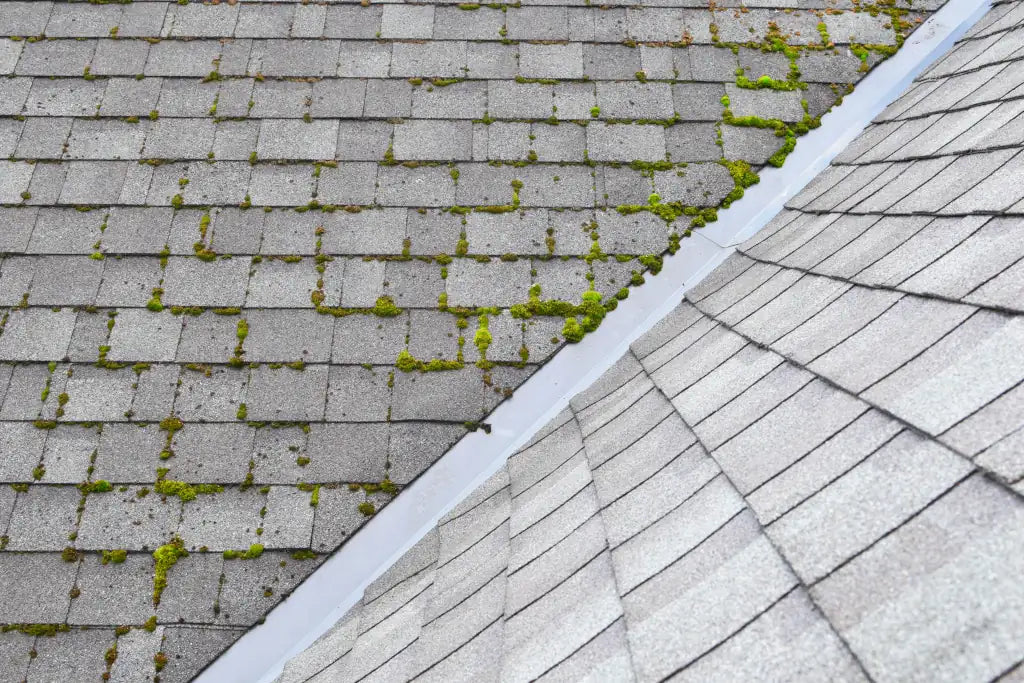
Roof moss is a common issue for homeowners across the UK, particularly in areas where damp weather and limited sunlight create ideal growing conditions.
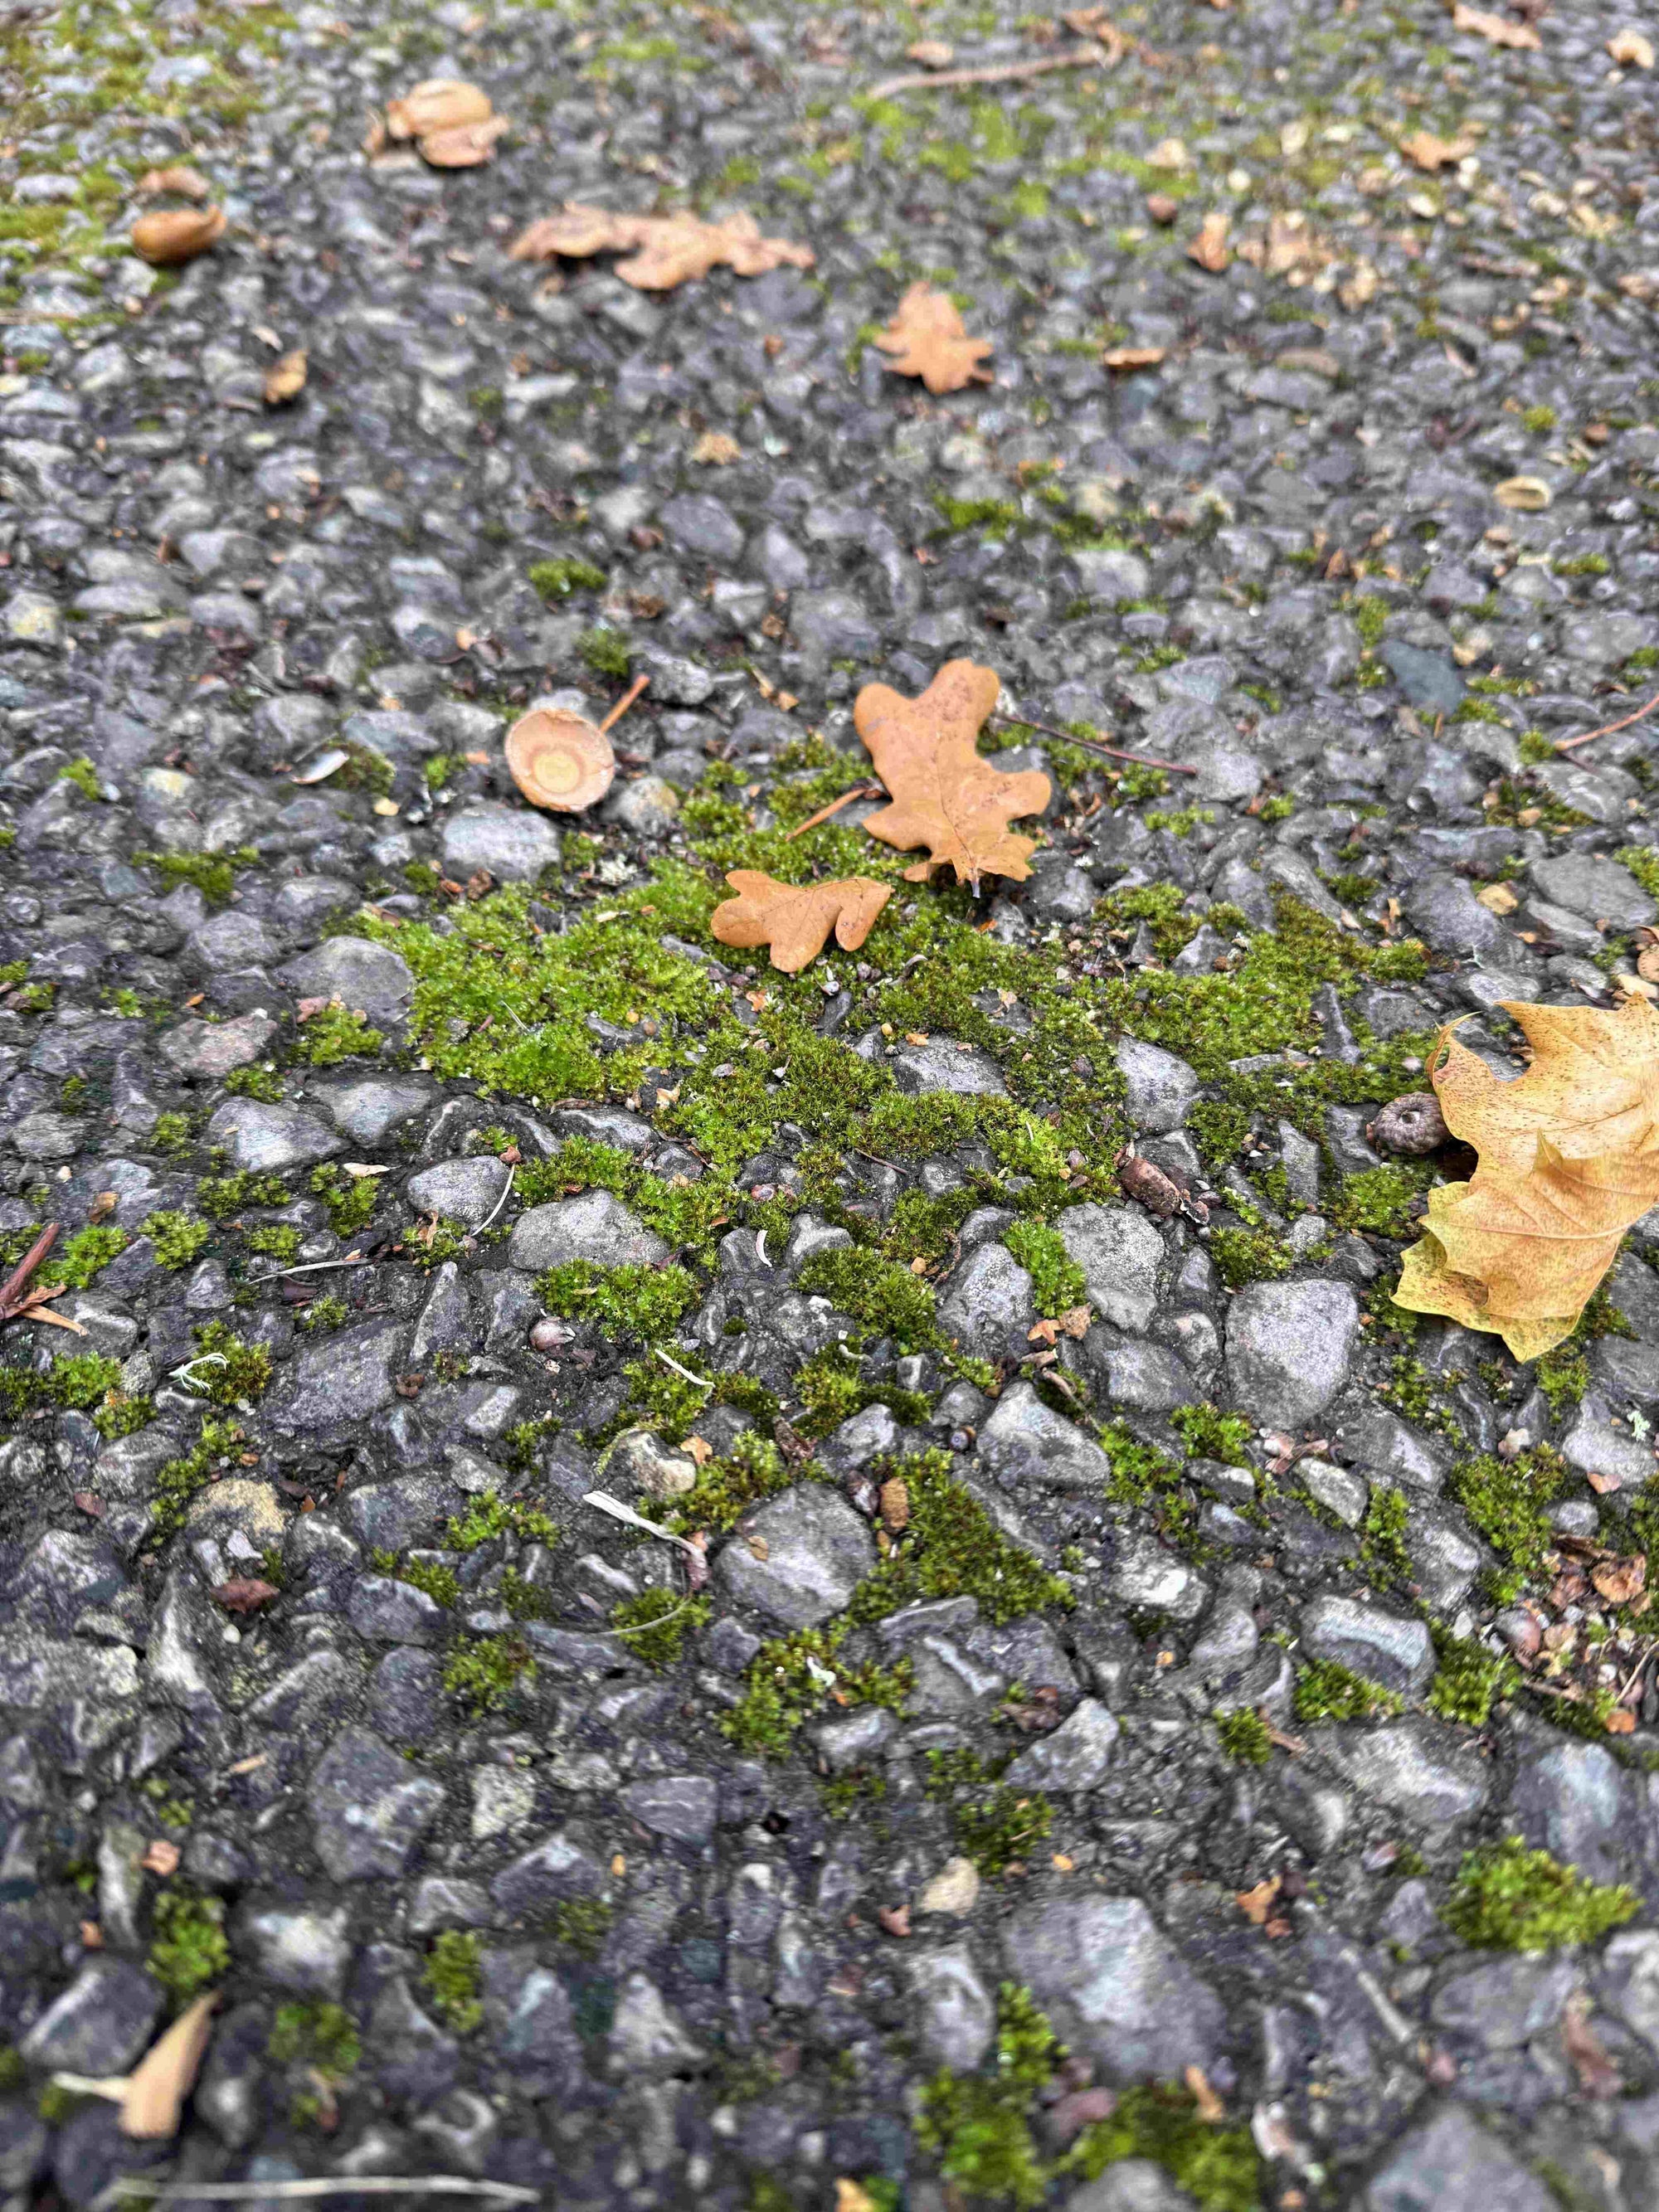
As the days become darker and outdoor surfaces stay wetter for longer, moss quickly becomes a common problem around the home. Patios that looked clean in summer begin to turn green.
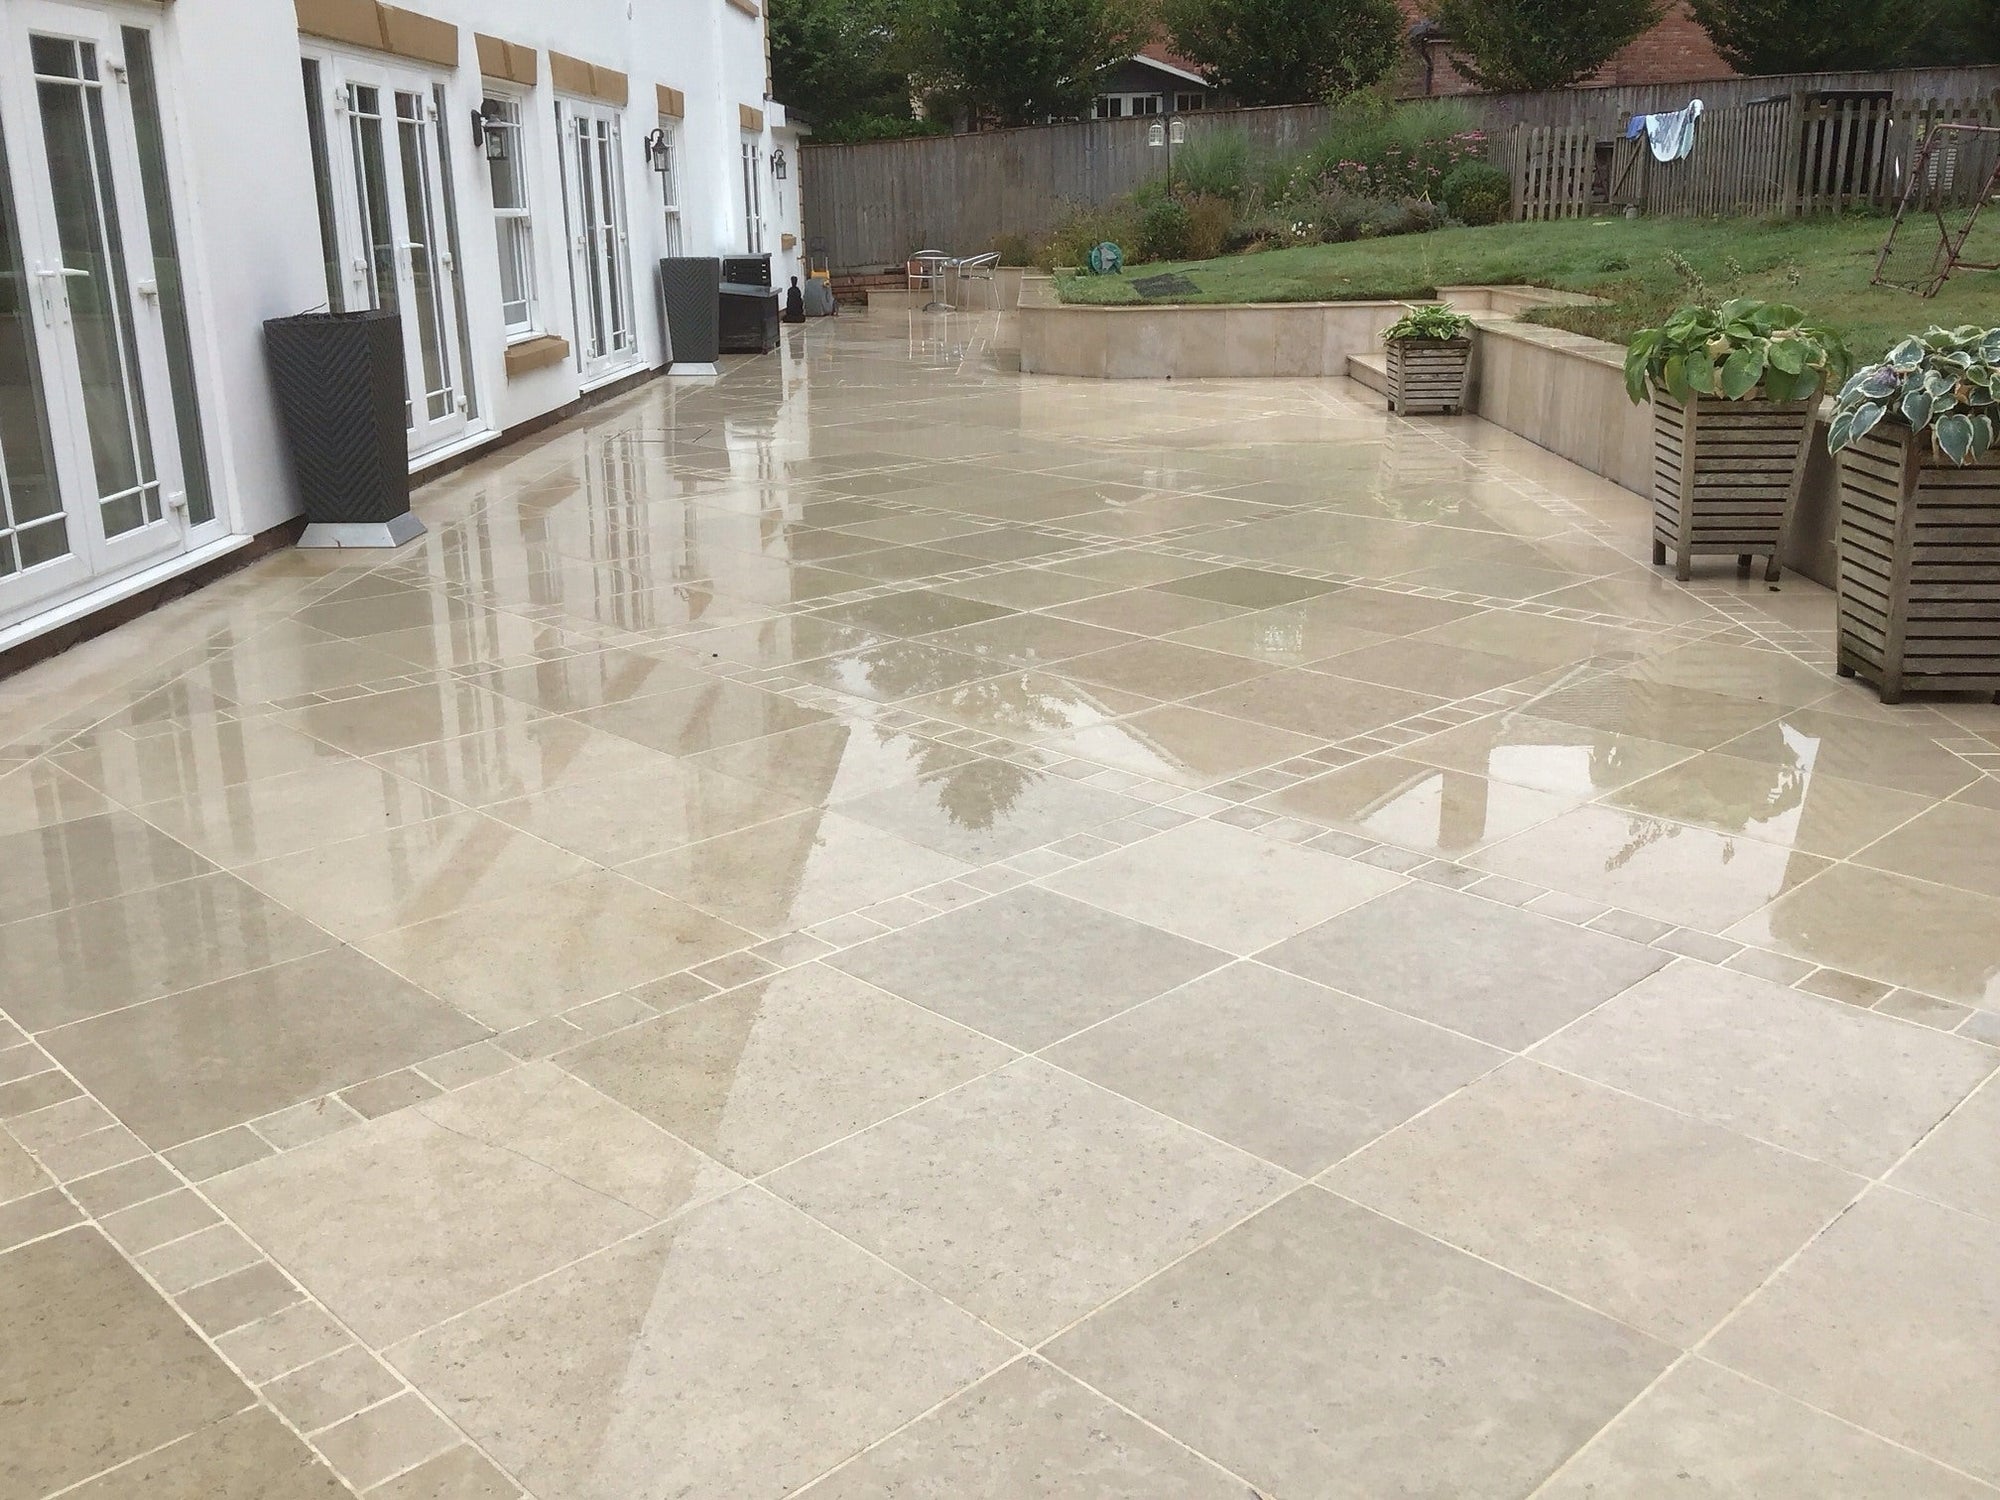
Use the Patio Black Spot Remover for Natural Stone supplied by the Patio Black Spot Removal Company. This powerful patio cleaner for limestone will restore the vibrant colours of limestone that dull over time.
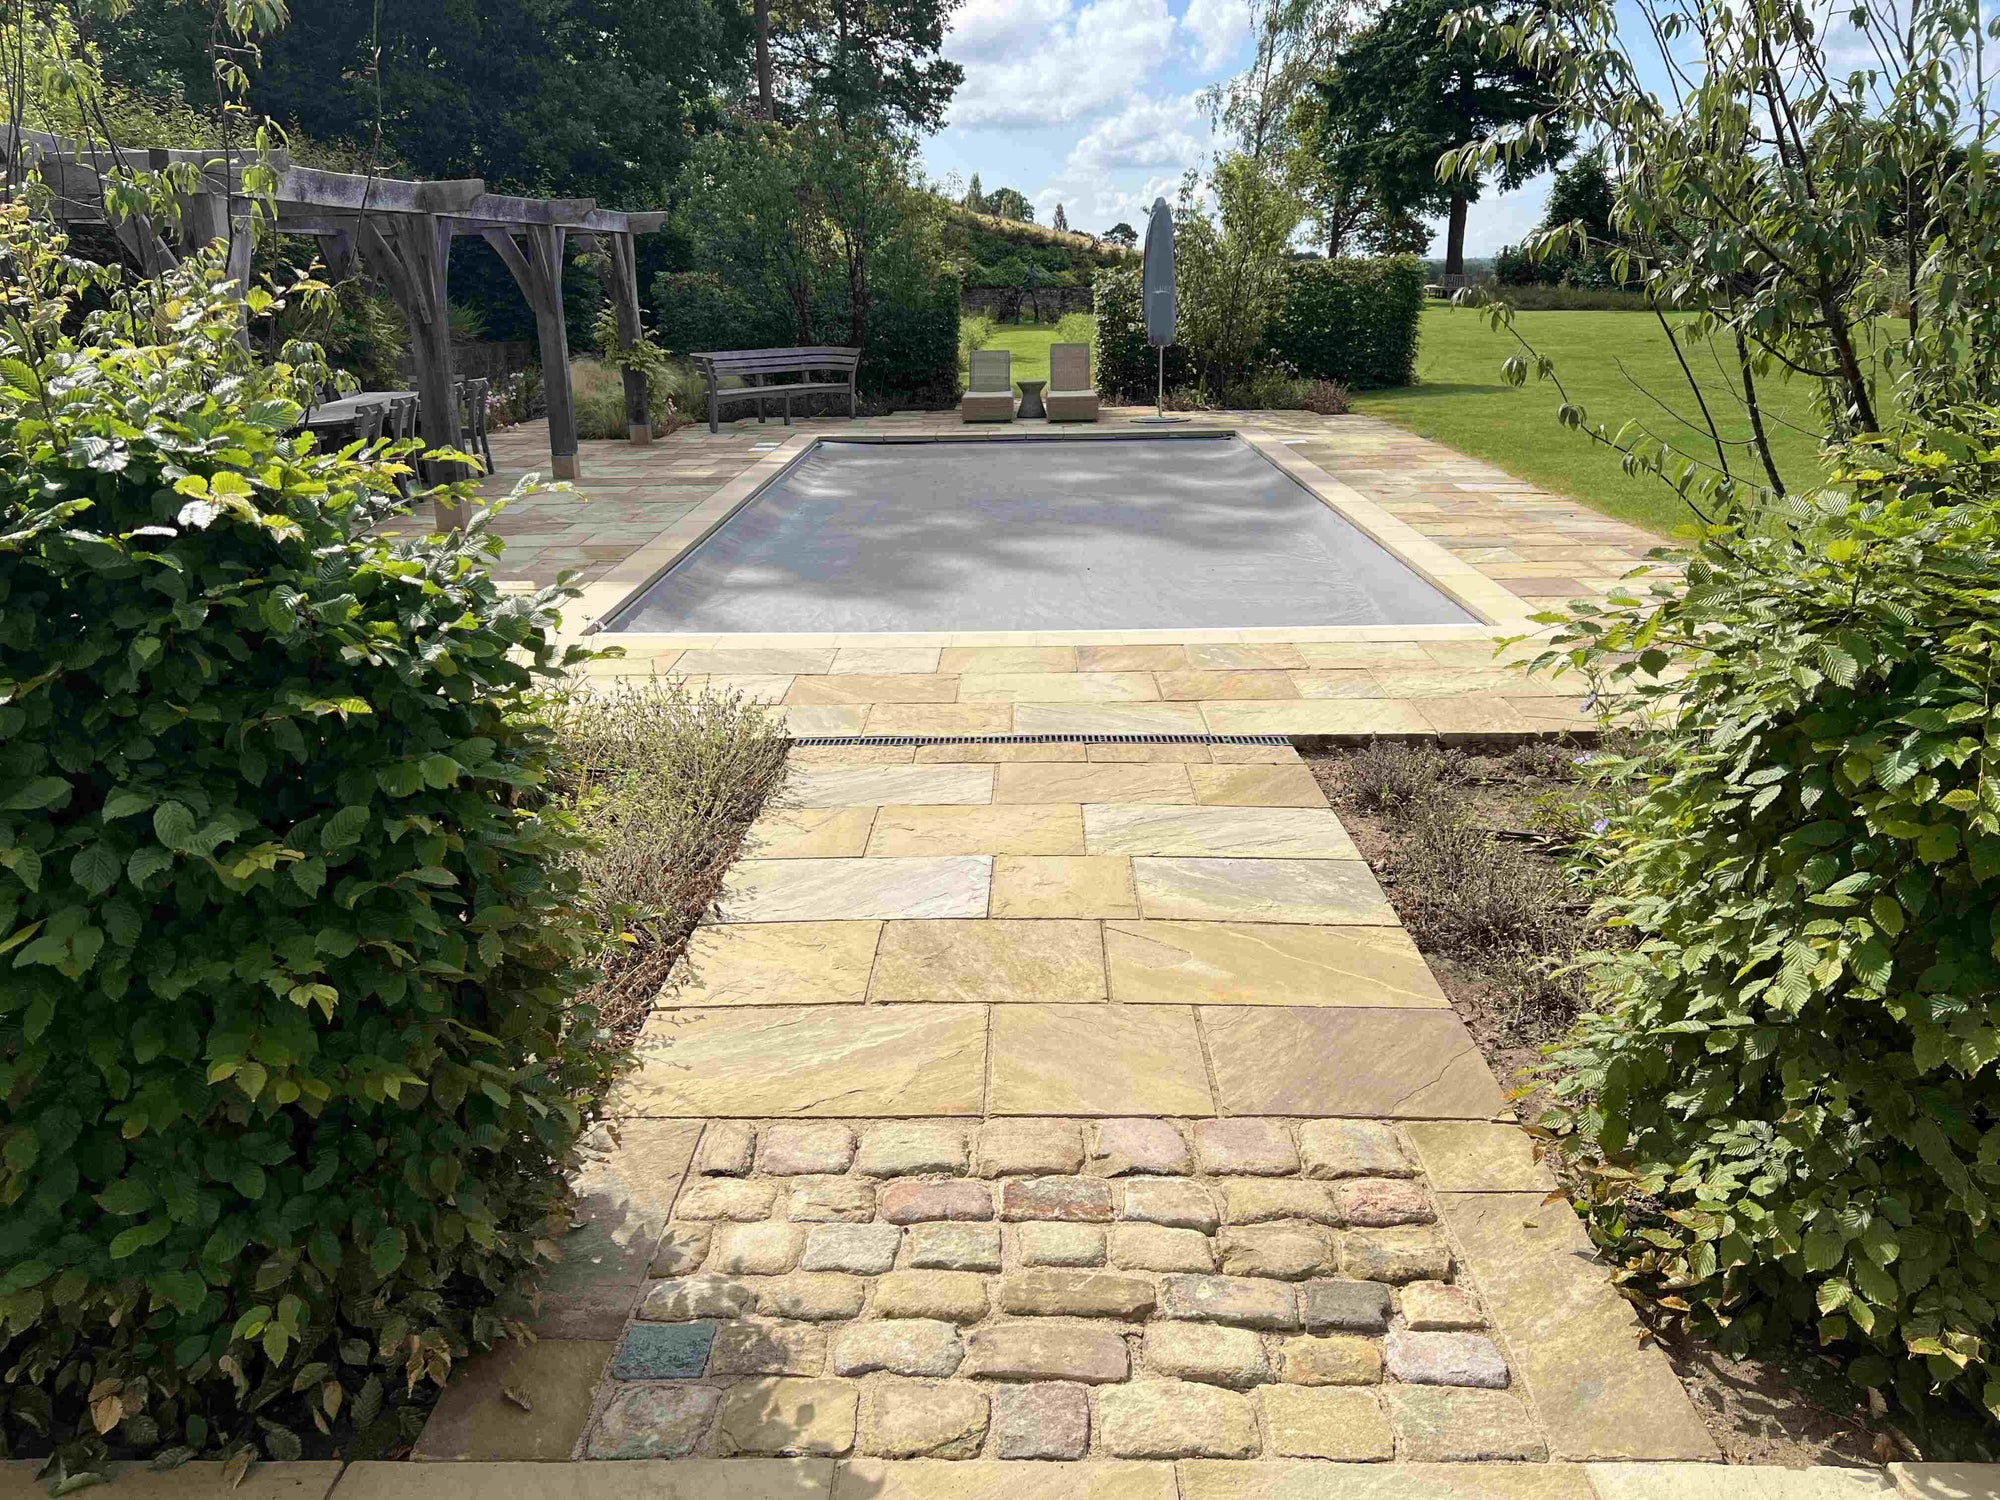
York stone is a type of Sandstone (natural stone) that comes from Yorkshire in the United Kingdom. Like all other sandstone, York stone is sedimentary. Known for its buff colours and durability, it is very popular with homeowners in their gardens.
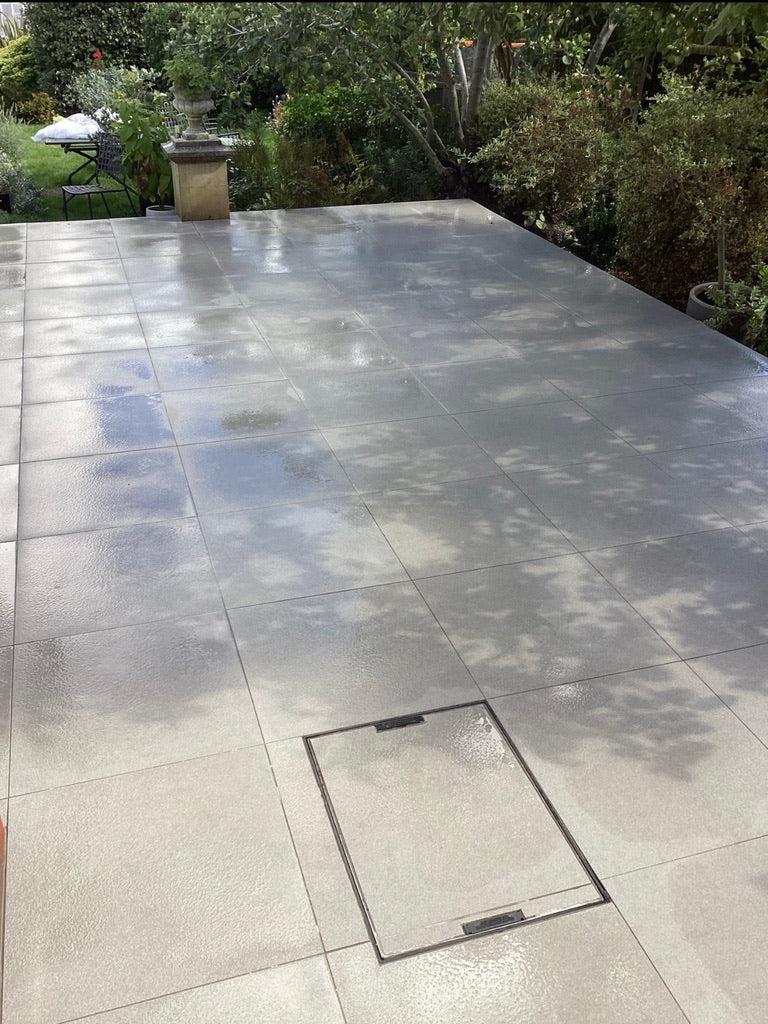
How to clean Porcelain Tiles?
When it comes to choosing the perfect material for your outdoor space, porcelain patios are quickly becoming a top contender for homeowners across the UK.
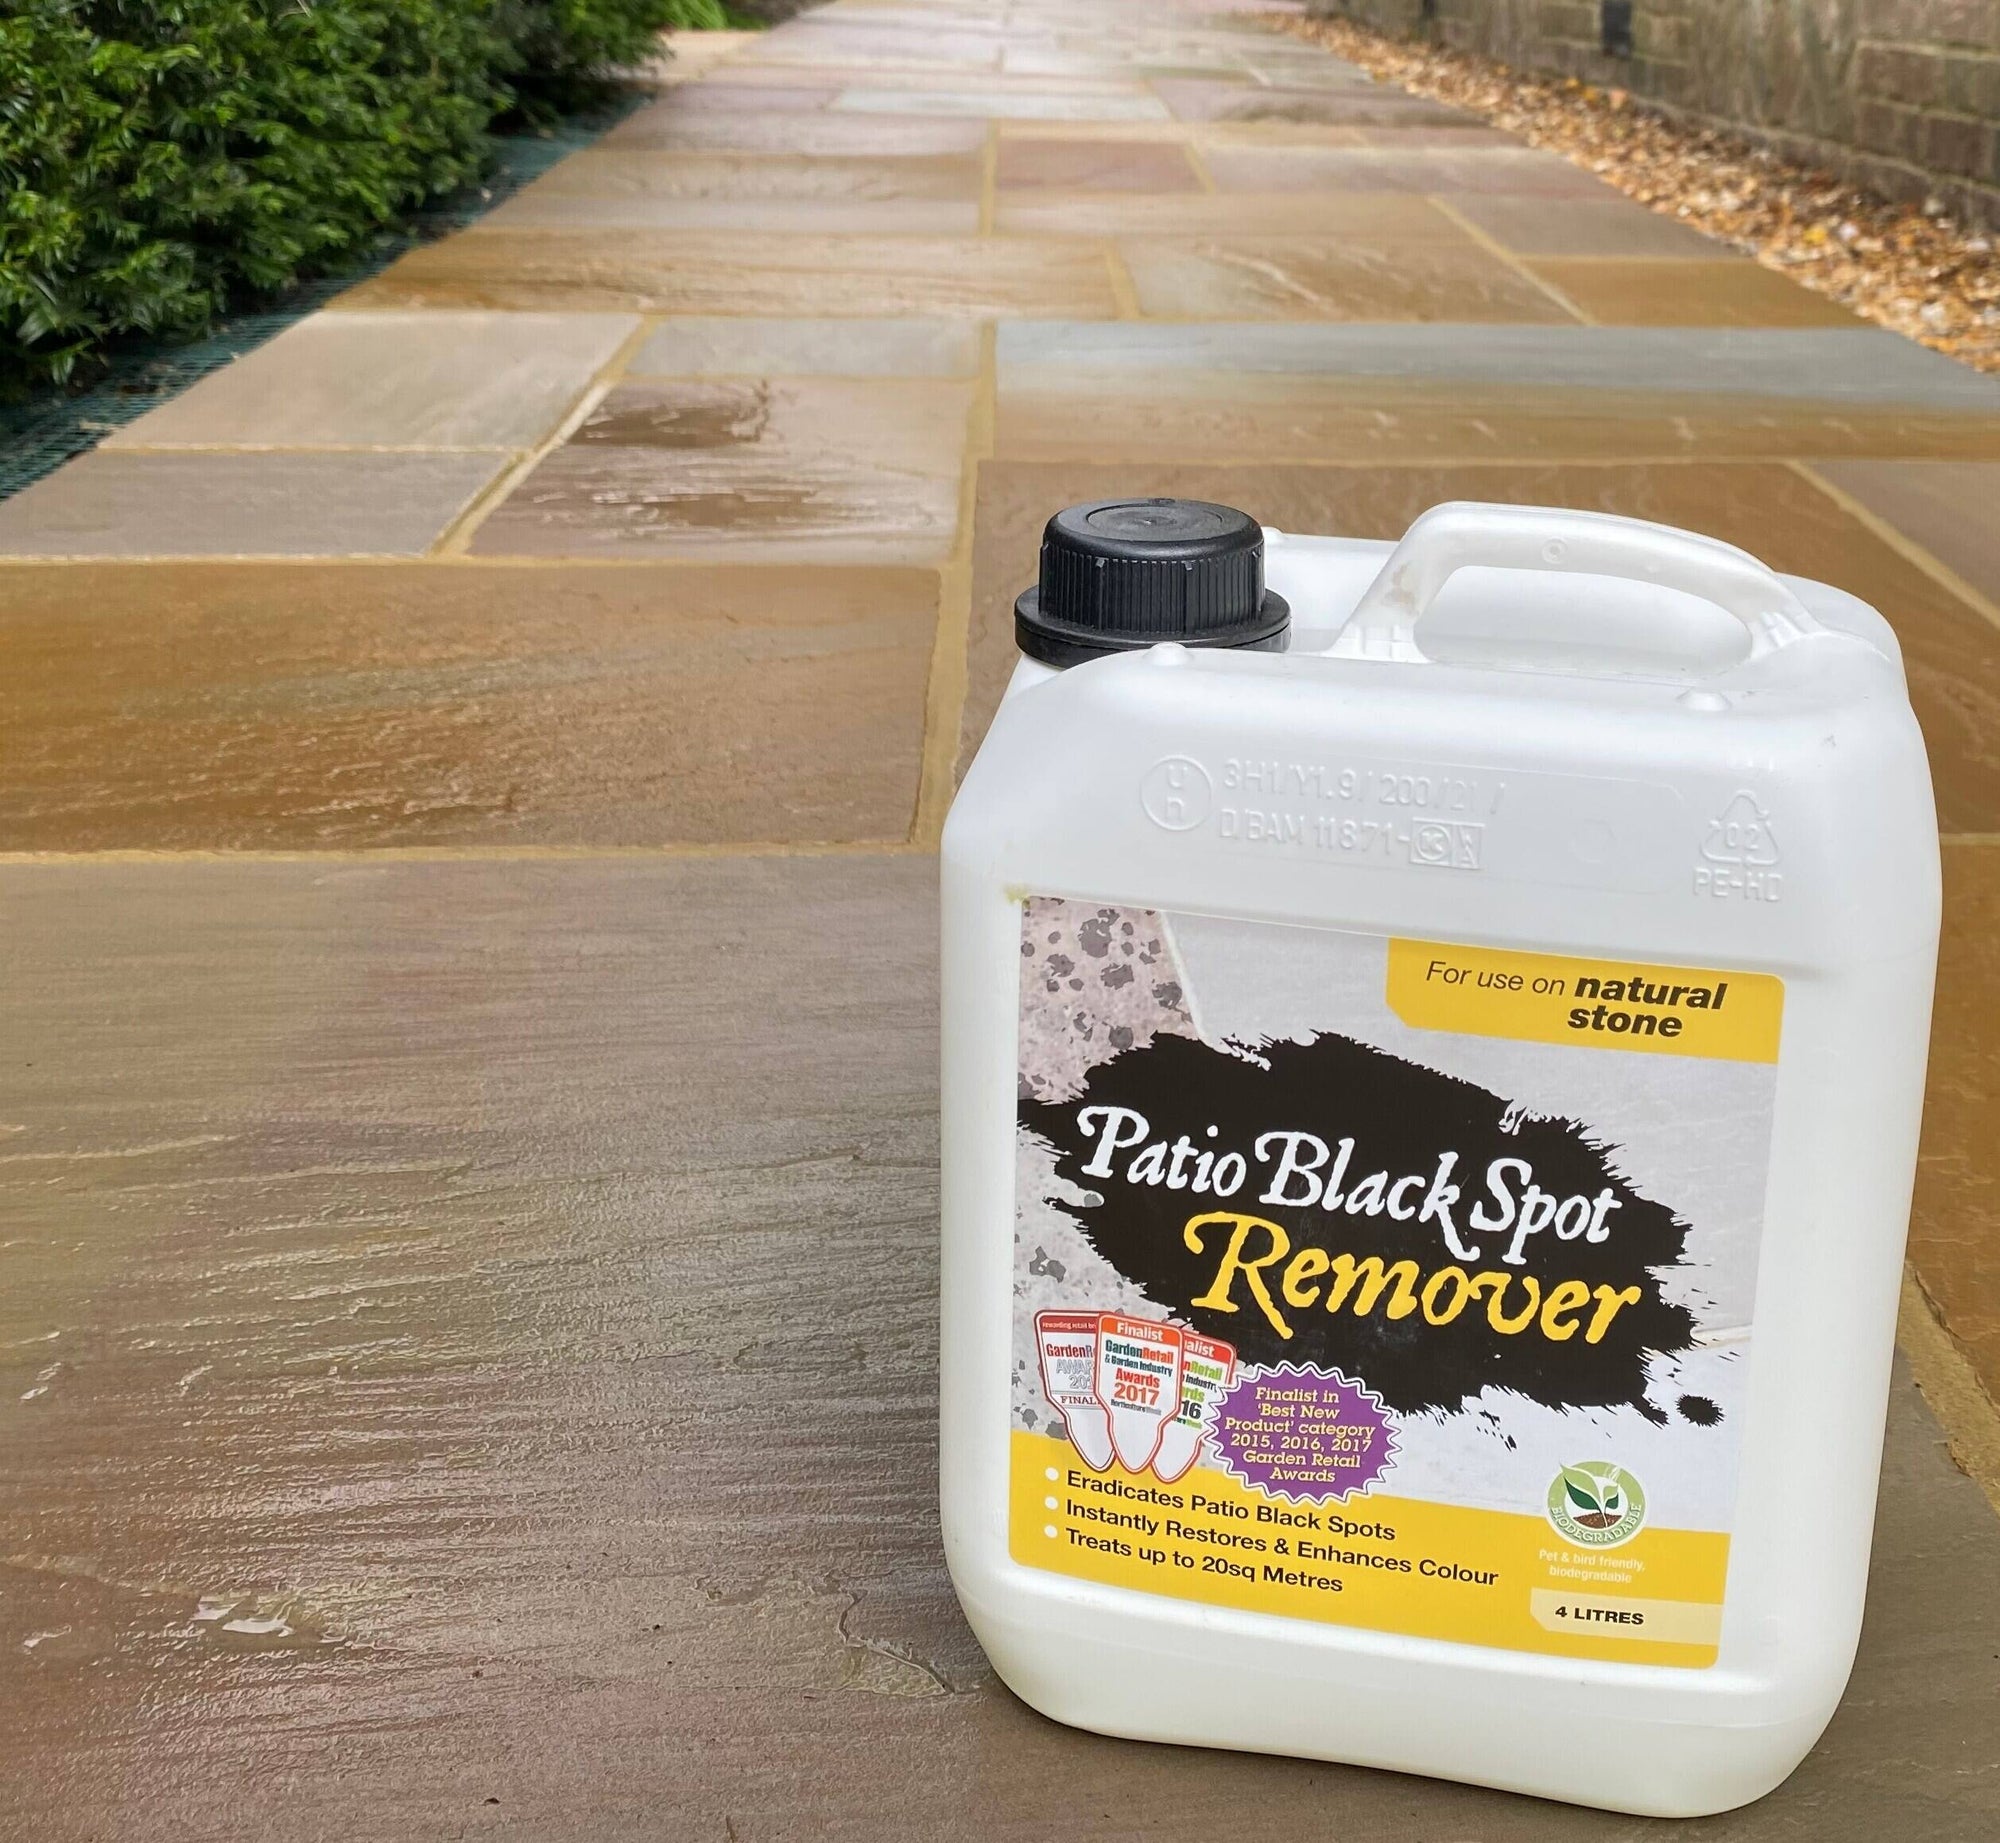
Have you recently laid an Indian Sandstone patio, only to find unsightly black stains taking over? You're not alone. These stubborn marks are one of the most common complaints we hear from customers